How to do a semi-permanent manicure at home?

What a joy to have a nail polish that stays on the nails! That it doesn’t flake off after two days. This is possible thanks to semi-permanent varnishes. But how to perform a pose like a professional?
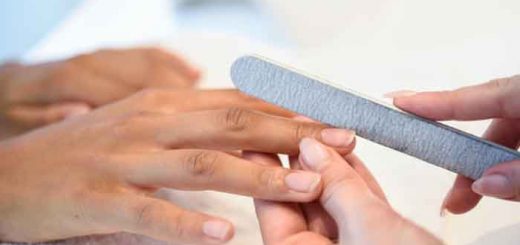
Nail preparation
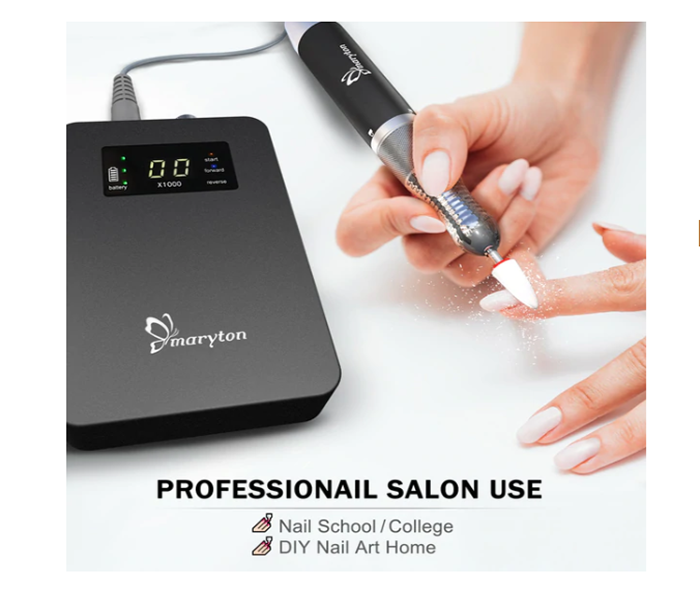
Wash your hands and then file the nails to give them the shape you want: square or oval. Above all, always file in the same direction so as not to split them! You can also use an electric nail drill if you have the necessary experience. Push back the cuticles so that the varnish is well on the nail. Finally, smooth your nails with the polisher so that the surface of your nails is flat.
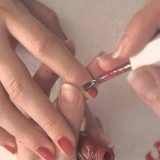
Applying semi-permanent varnish
Start by applying a thin layer of primer to increase the adhesion of the varnish on the nails. Follow with a thin base coat for semi-permanent nail polish. After doing all your nails, place your hand in the UV or LED lamp for about 30 seconds. Then proceed to the application of semi-permanent colored nail polish in two always thin coats.
Finishes
To complete the installation, you must apply the top coat varnish in a thin layer. He will come to protect all the work you have just done. It will also bring more shine to the varnish. Then, degrease your nails by passing a cotton soaked in cleaner over it and it’s over!
Read also: How to apply false nail tips?