How to make your triangle nail art manicure?
No need to go to the manicurist to adorn your triangle nails, you can do it at home. It is very simple. In this blog, your nail supply expert Maryton will tell you how to make your triangle nail art manicure. Read on!
The steps to follow:
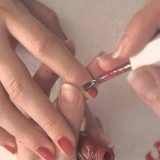
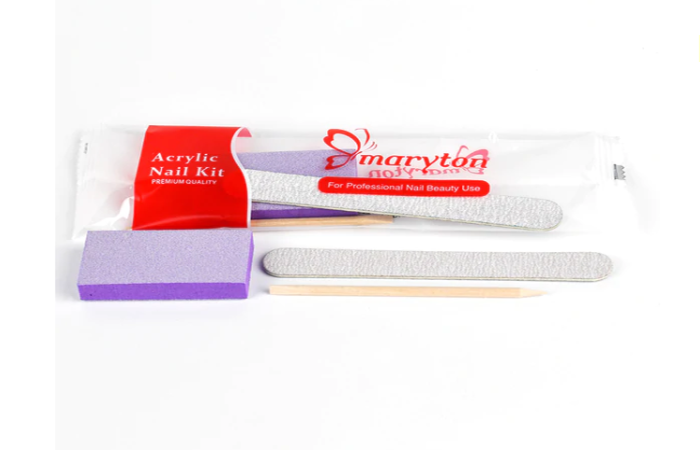
- Give your nails the right shape and length then remove the cuticles.
6000 PCS $690.00
- Cut two thin strips of tape.
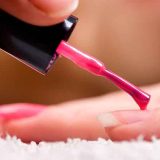
- Apply a base to the nails to protect them from the varnish pigments.
- When the base coat is dry, apply a coat of varnish in the desired color.
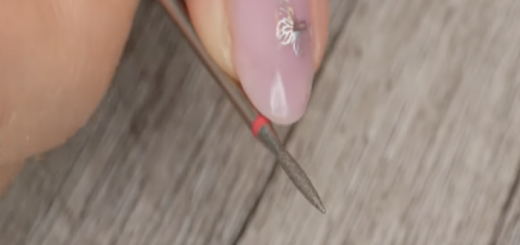
- After the varnish layer dries, limit the triangle area at the base of the nail with strips.
- Cover the area outside the triangle with a varnish of another color, for example gold.
- The triangle will have the shade of the first color applied. The minimum drying time is 10 to 15 minutes.
$12.90
- Wait for the second varnish to dry, then gently remove the tape strips.
- To finish apply a top coat delicately, without pressing too much.
OK! You have know the triangle nail art manicure, take your manicure sets into action now! Looking forward to seeing your new manicure!
Read also: Nail trend: triangle nail art manicure