How to apply the permanent varnish?
The application of the gel varnish is done in a beauty salon. To guarantee professional quality, opt for a well-known brand. Today, your nail supply specialist Maryton will tell you how to apply the permanent varnish. Let’s go around!
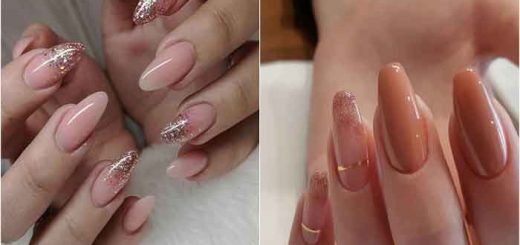
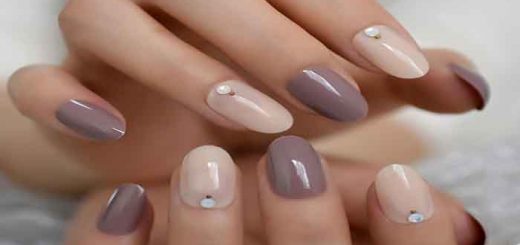
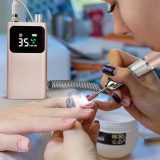
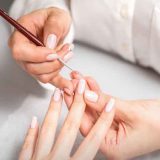
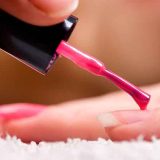
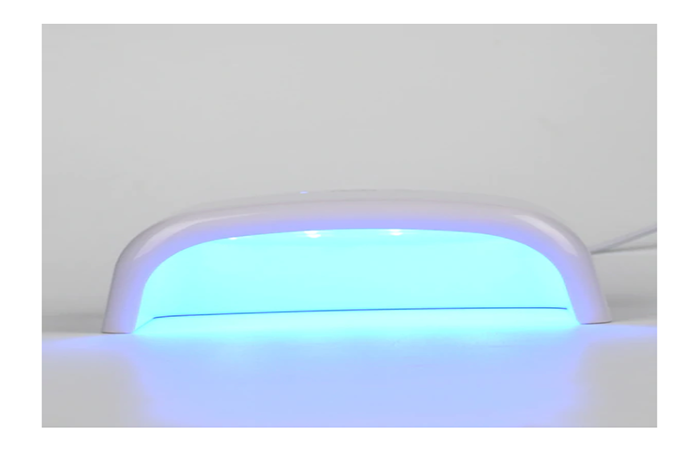
The first step is to give the desired shape to your nails using a nail file. Afterwards, the beautician uses the cuticle pusher to give a beautiful appearance. Then, he polishes your nails to allow the varnish to adhere better. After that, the nail specialist will apply a base varnish, followed by two coats of gel color varnish, keeping the shiny top coat. Each layer must pass under a UV or LED lamp in order to harden the product.
$12.90
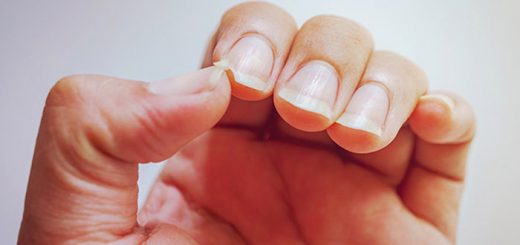
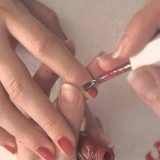
To remove it, you must also consult a professional. Unlike classic varnish, you will need to scrape each nail with a nail file. Afterwards, the beautician will dip your fingers in a bowl filled with nail polish remover with acetone. She will then use an exfoliating glove to completely remove your polish.
If you opt for permanent varnish, you must practice regular nail care to keep it solid. The effects of the product as well as those of the nail lamp weaken them and lead to duplication. Applying oil to the nails and cuticles is a very good idea to moisturize your nails.
OK! You have know how to apply the permanent varnish, take your manicure sets into action now! Looking forward to seeing your new manicure.
Read also: The advantages and disadvantages of permanent varnish